

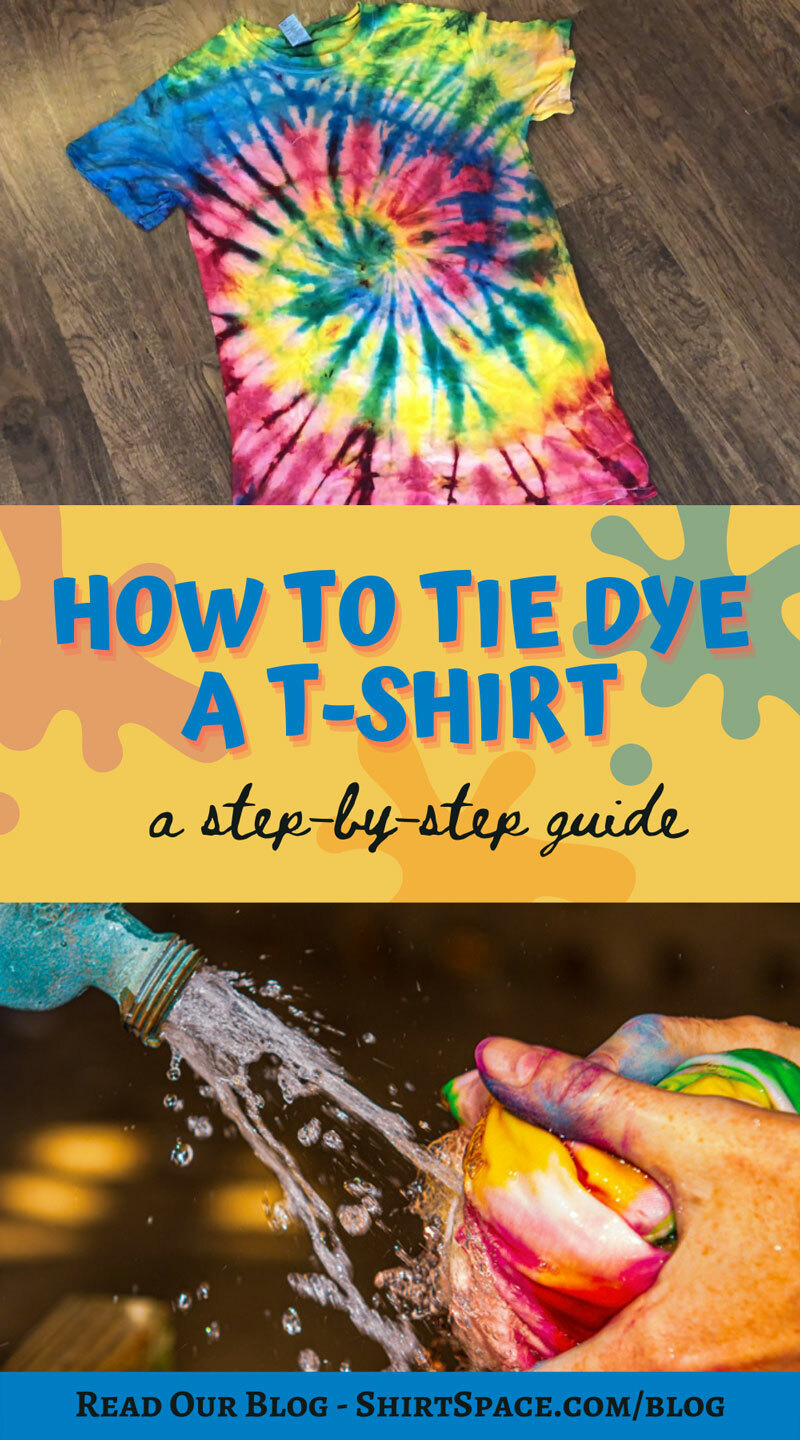
How To Tie Dye a T-shirt
By ShirtSpace | Mar 03, 2020 | Updated Feb 13, 2024
Introduction to Tie-Dye
Most people are familiar with the tie-dye look in modern fashion. Those vibrant colors, criss-crossing what would have otherwise been a boring white t-shirt, have been iconic in the western world since the late 1960’s.
Although Tie-dying dates back much further, in the United States, in particular, the tie-dye t-shirt really took off as a fashion symbol for the baby boomer generation back when they were still “babies” attending Woodstock and exploring their more rebellious sides. We’ve all seen those famous photos of teenagers, who are now our parents and grandparents, rocking out to Joe Cocker and the like in psychedelic tie-dyed t-shirts. Ah, the good ‘ol days.
While many from that generation have long since grown out of their love of brightly colored t-shirts and have moved on to a more subtle color pallet, tie-dye hasn’t gone anywhere. While it remains both a statement-making style and a fun idea for coordinated family outings and reunions, tie-dye is perhaps most fun as a DIY project.
Let's jump into how to tie-dye a t-shirt.
Step One: Picking a Shirt
Don't over-complicate this step. You need a shirt that’s going to be receptive to the dye you pour across it, which means you’ll want a 100% cotton shirt. You may stumble across a blog or video online that says it’s possible to get away with a 50% cotton, 50% polyester blend t-shirt, but we disagree. Your colors will come out dull or muted if you use a 50/50 blend t-shirt, and having a subtle tie-dyed t-shirt is about as much fun as watching a rock band made up of librarians (sorry librarians, it’s just a joke).
With 100% cotton as our only truly viable option, let’s look at a couple examples that you will certainly like.
#1. The Gildan G500.
The Gildan G500 is a classic, tubular fitting t-shirt which means it’s a more “boxy” style than a retail or fashion fit t-shirt. The description of “classic-fit” is accurate as the G500 is a basic style t-shirt that most of us grew up wearing. The G500 is ideal for a wide range of body types and silhouettes so if you’re tie-dying a large amount of shirts to hand out or for a group or team of people, this 100% pre-shrunk, 5.3 oz tee with a tear-away label is ideal.
#2 The Gildan G640
Similar to the G500, the Gildan G640 is a 100% pre-shrunk cotton t-shirt with a tear-away label. The G640 isn’t quite as heavy as the G500 though, weighing in at 4.5 oz. The key difference, however, is that the G640 is made using soft, ringspun cotton and has more of a retail-inspired, tapered fit. Choose wisely.
#3 The Bella + Canvas 3001C
Straying away from the Gildan family, the Bella + Canvas 3001C is a perfect candidate as a tie-dye blank. This t-shirt is made with 100% arilume combed and ringspun cotton which results in a particularly luxurious touch and feel. We’re not exaggerating here. If you want your tie-dye shirts to be fashion-forward and extremely soft and wearable, go with this 4.2 oz retail fit blank.
Now that you’ve picked out the perfect blank white t-shirt for your tie-dye project, let’s have some fun and get into the process of how-to tie-dye.
Step Two: Supplies
Let's be real here. Dye is messy and it’s almost impossible to clean up. So not only do you need your shirt and dye, but you also need supplies to keep the whole process as clean and tidy as possible. Here’s what you need:
-
Dye. There are a variety of fabric dyes that will work. In fact, you can order pre-made tie-dye kits on Amazon. We recommend Rit fabric dye for its ease of use and availability. You can pick up Rit at pretty much any store that carries crafting supplies.

-
Rubber gloves to keep your hands clean and protected. It’s not a bad idea to wear an apron also. Or at the very least, clothes you don’t care about ruining.
-
Rubber bands to bind the shirt in place. We’ll show you how that works in a second.
-
Plastic garbage bag or newspaper to lay your shirt on.
-
Large zip lock bags.
-
A large tub or five-gallon bucket and salt or soda ash.
-
A wooden dowel or similar item.
Step Three: Soak the Shirt
For the dye to bond adequately to the shirt fibers, you must first soak it in warm water with the soda ash, salt, or a combination of both. Soak the shirt for ten minutes and then wring it out thoroughly. If you have sensitive skin, be sure to wear rubber gloves for this process.


Step Four: Tying the Rainbow Swirl Pattern
Lay your shirt down on the plastic garbage bags or other protective surface and place the wooden dowel (or in our case, a Sharpie) in the center of the shirt and begin to spin the wooden dowel so the shirt begins to gather around it.


Once you have the shirt tightly swirled around your wooden dowel, remove the dowel and use the rubber bands to secure the shirt in place, being careful to maintain the swirl pattern in the shirt.
Once you have several rubber bands placed across the shirt in various directions, you should have what looks like a shirt sliced like a pie with the rubber bands.

Once you have your shirt secured with the rubber bands, use the rubber bands as guides as you cautiously apply the dye to your shirt. We used three colors for our example and applied each color of dye to about one-third of the “pie”.

After you’ve applied all your tie-dye colors, flip the shirt over and apply the same colors to the opposite side of your shirt. Once this is done, seal the shirt in a ziplock bag for 24 hours.

Step Five: Rinse and Rinse Some More
24 hours later you’re ready to unveil your tie-dye masterpiece. This part can be awfully messy, so take precautions! Make sure you’re wearing rubber or latex gloves and you’re rinsing the shirt in a place where you don’t mind fabric dye splatter. We prefer a utility sink or outside with a garden hose.
The rinsing process will take a few minutes as you gently remove the rubber bands under the running water. At this early stage of rinsing you might be surprised just how much dye is coming off your shirt. In fact, it may look like a black inky mess when you first start, but stick with it and eventually the water will run clear.
After you've removed all of your rubber bands and rinsed the shirt until the water has run clear, lay your hard work out and admire your accomplishment. Congratulations, you’ve officially joined the tie-dye club, exclusive to all tie dyer’s from years past to this present moment.

Step Six: One Last Rinse and Wear
We'd strongly advise you to wash your newly tie-dyed work of art separately the first time. Even though you rinsed until the water runs clear, it’s highly likely more dye will come off in the first wash, which could be disastrous for the rest of your laundry.
Now you’re ready to wear your accomplishment all around town. Sure, there may not be a Woodstock nearby to rock your tie-dye tee, but don’t let that stop you — wear that bad boy with pride! Be sure to visti Shirtspace.com to all the T-shirts you need for your next tie-dye project!
Comments
Zachary Tomlinson05/22/2020 07:56 am
My friend loves the retro appeal of tie-dye shirts and she's wondering if it's possible to create one for herself. I find it amazing to learn that you can create a tie-dye shirt in the comfort of your home!
Reply
ShirtSpace06/26/2023 10:50 pm
Hi Zachary! Thank you for reading and taking the time to comment!
Reply
Leave a Comment
We take your privacy seriously and will not share or publish your email address.
This site is protected by reCAPTCHA and the Google Privacy Policy and Terms of Service apply.