
How to Age DIY Vintage T-Shirts Without Damage
By ShirtSpace | Oct 07, 2019 | Updated Sep 26, 2024Even though it’s been years since the original NastyGal opened its digital Ebay doors selling authentic vintage finds, the trend of vintage has only gained momentum. Thanks to the explosion of social platforms like Instagram and the corollary shopping apps like Depop and Poshmark, vintage is in vogue all year long.
Hero Image Source: Micaela Parente
Our collective fondness for the evergreen style comes from our nostalgia for seasons gone by. However, there’s a more strategic reason why vintage clothes, especially t-shirts, make even the most discerning sartorialist’s cut: the fabrics are well-worn and soft to the touch, so they’re a pleasure to wear.
![]()
Image Source: Greg Kantra, Ian Dooley
There’s something long-lasting about vintage clothing that seems to buck against the ephemeral and fast-fashion clothing pieces we see today. The good news is that you can create your own vintage t-shirts, jeans, and shirts using a few DIY, at-home, and all-natural techniques. Get ready to roll up your sleeves and set aside a few days — that’s all it takes to age a shirt a few decades.
The Hallmarks of Vintage Clothing
Before you get to making your own aged, vintage t-shirts, it’s essential to know what the most common hallmarks of this style are. Even collectible vintage t-shirts sold online might be stiff and look quite fresh when you buy them. These pieces come from unused stock known as deadstock.

Image Source: Allef Vinicius
You can use DIY methods to instantly age deadstock items, or you can buy pieces that undeniably show their age. Here are a few hallmarks of vintage clothing you should be looking for and that you can mimic when creating your own aged t-shirts.
1) Definitive Styles of Each Era
A simple glance at a collar or a waist is enough to tell some vintage clothing lovers about the details of its era. Vintage clothing always reflects design features that were popular at the time. In the 80s, this was shoulder pads, and in the 50s, cinched waists were the standard on women’s dresses.

Image Source: Priscilla Du Preez
These era-specific design features don’t recur in modern clothing — except, perhaps, if a designer is trying to be ironic. It’s precisely these additions that a vintage clothing aficionado would be looking for, however.
2) Soft, Worn Feeling
After several washes and years in someone’s closet, any piece of clothing is bound to be lovingly worn in and soft to the touch. Some people see it the reason why they avoid vintage — they may feel like wearing someone else’s clothing is not for them.

Image Source: Joshua Rondeau
However, vintage clothing lovers have come to cherish the well-worn nature of their threads. From their perspective, vintage clothing is a chance to bring back nostalgic styles without having to spend time aging or distressing a new t-shirt.
3) Natural Fading and Fraying
You can use household items to fray, fade, and artificially mimic the effects of age on a t-shirt. These effects are especially noticeable on graphics, prints, and around the collars and hemlines.
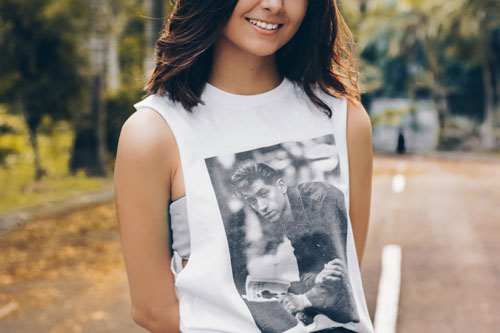
Image Source: Angello Pro
Faded and frayed edges and details have come to represent a grungy, urban, and “cool” vibe, which is an aesthetic vintage clothing hunters want to bring to their personal style.
Luckily, aging, fading, and fraying a t-shirt at home is an easy and even creative endeavor. If you’re vintage t-shirt hunting and you find a piece you love but isn’t soft to the touch or doesn’t look like it’s at least 20 years old, you can use these aging techniques to wear down and stylistically age the fabric without damaging it.

Image Source: Mark Broadhead
4 Easy Steps to Aging A T-Shirt
Aging techniques look as good on menswear as they do on women’s t-shirts, but these techniques come with a word of caution. Women’s t-shirts in particular tend to be a little thinner in materials, so make sure to monitor any of these methods you use. You want to have the look of natural aging without breaking down the threads.

Image Source: Bowonpat Sakaew
Pro-Tip: Before you try any of these soaks, make sure to wash your t-shirts a few times so that any color bleeds and shrinkage occurs before the aging process. The last thing you want when staining and artificially “aging” your t-shirt is to have a bright red bleed ruin all your other t-shirts.
You can find many of these items around the house, but you should have at least two buckets on hand. It would be best to use a pair of rubber gloves, so ingredients like bleach or tea don’t hurt or stain your fingers.
Step One: Prepare the Brine Solution
If you have more than one bucket, you can use more than one technique. There are at least three “brining” solutions you can use. The main ingredients include vinegar, lemon, and bleach. You can also use acetone to age t-shirts but, again, make sure you’re wearing rubber gloves when you dip your hands in.
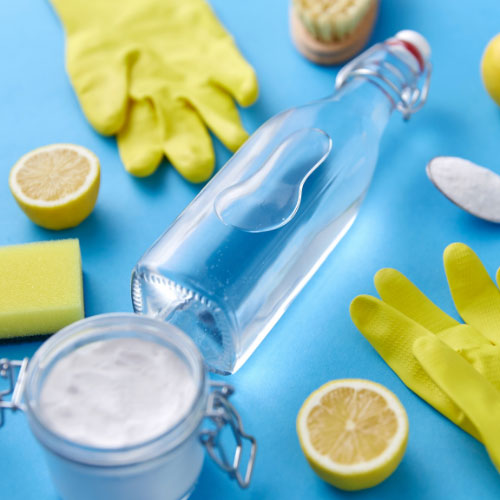
Image Source: Syda Productions
Pro-tip: When using any of these DIY t-shirt aging techniques, start with a large and well-ventilated workspace. Ideally, you’ll be able to lay your t-shirts on a work surface such as an old piece of wood and work out of a space like a garage floor or a workbench outside. Because you’re going to be wearing down the fabric, you want to make sure your workspace is somewhere you don’t mind damaging through the process.
After you use any of these soaks, try and line dry instead of drying in a machine dryer. This will help avoid unwanted shrinkage.
Acetone Soak
For this method, you’ll need to mix 3 gallons of water with 2 cups of acetone. Soak your t-shirt in this solution for 12-48 hours to allow the solution to soak through thoroughly. Stir it now and then, either with your gloved hands or a wooden handle ladle.
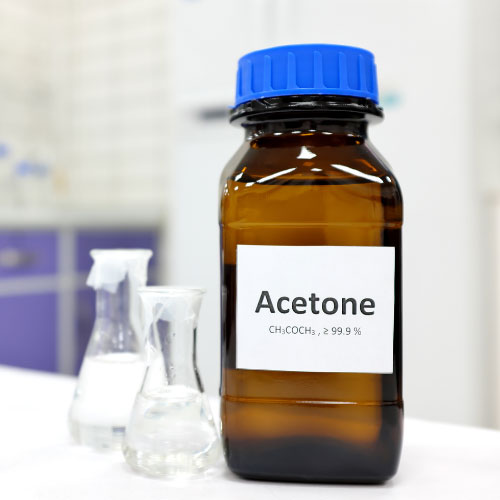
Image Source: John Kevin
This method works particularly well with t-shirts that have graphic prints on them. However, if leakage or color bleeding is an issue (for example, a bright graphic on a stark white t-shirt), make sure to apply the acetone solution with a sponge and only on the graphic, rather than soaking the entire t-shirt.
You’ll need at least three applications to see a marked difference in the t-shirt.
Vinegar Lemon Soak
A vinegar soak sounds like you’re marinating food, but it’s an effective way to age and fade your t-shirts. The method is simple: All you need is time and a few household ingredients. The vinegar soak method is a multistep process.
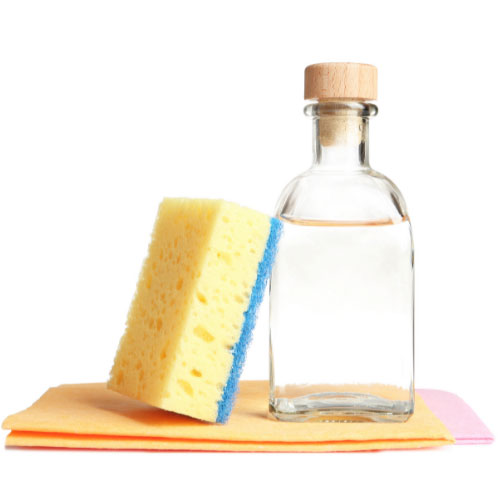
Image Source: SYUHEI IKEDA, belchonock
First, mix 1 part lemon juice to 3 parts water and soak the t-shirts for anywhere between three and 12 hours. Again, keep doing a periodic check to achieve your desired “age.” Line dry and then either stain (which we’ll cover below) or use pumice and sandpaper to wear down any graphics.
Next, soak the dry, scrubbed t-shirts once more, this time in the vinegar soak. For this, take 1 part vinegar and mix with 3 parts water for four to 12 hours. If you’re using a stain to artificially “age” your t-shirt, the vinegar gives you the added benefit of “setting” the stained effect.
Bleach Soak
Immersing your t-shirts in a bleach soak is also a fast method for aging a t-shirt. Note that bleach soaks are most effective on bright colors and cotton fibers, but its effects are less noticeable on dark-colored clothing.
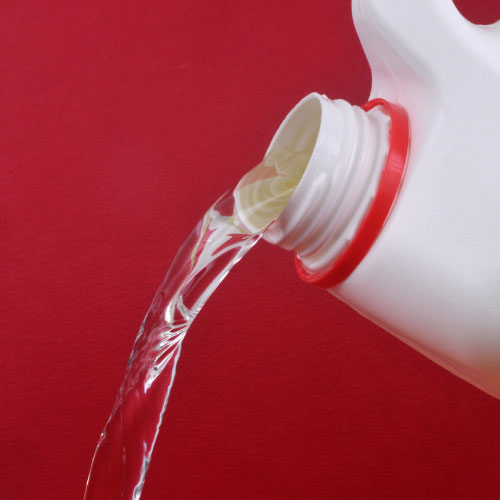
Image Source: Richard Villaonundefined
This soak calls for 3 gallons of warm water with 3 cups of liquid bleach. Stir this solution vigorously before immersing your t-shirts. Monitor the t-shirt’s color for the first five minutes, stirring continuously. Watch for excessive color bleed or loss.
This technique is so effective that you don’t need more than a 30- to 45-minute immersion. Set a timer and then pull the t-shirts out when they’re ready. Give them a good rinse before machine washing on warm and then line-drying.
Step 2: Hot Wash, Dry, Rinse-and-Repeat
Once you use any of these brining solutions, your next step in the aging process is to give the t-shirts a good, hot wash. Heat not only lifts excess colors and stains out, but it also helps to rid the fibers of the brining solution residue. You can perform the hot-wash-and-dry process several times.
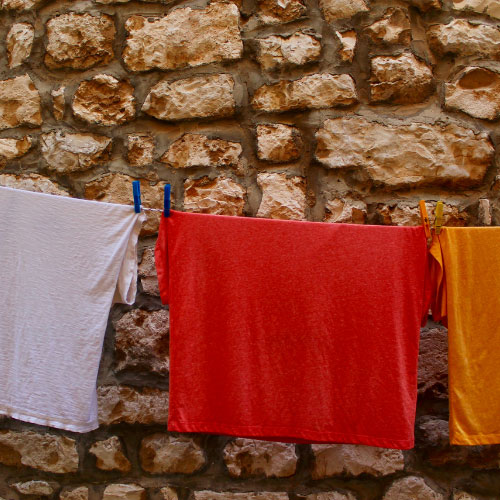
Image Source: Bowonpat Sakaew, Kønig
Step 3: Tea, Coffee, and Paint Stains
In between washes, you can use tea, coffee, and even a mix of diluted brown and green paints to create a natural “aging” effect on t-shirts. This technique works best on brighter colors, and whites especially.
To stain with any of these agents, dilute the tea, coffee, or paint in water. Create a wash that you can dip your t-shirts in and leave them there for 10 to 15 minutes. Tea is milder than coffee, and both of these are milder than paint — depending on how well you dilute them.
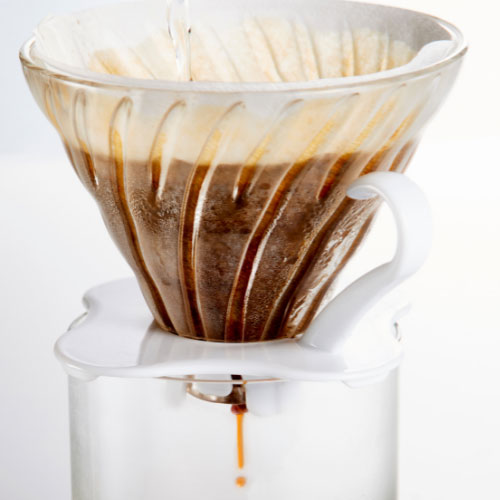
Image Source: BAETBOARwM4, Dio5050
Step 4: Sandpaper Smooth
After soaking to fade and then staining to age, you can “rough” up your t-shirt further using sandpaper or pumice.
Pumice is a volcanic rock created from super-heated, highly-pressurized rock. This lightly-colored and porous material is the ideal tool for naturally aging a t-shirt’s graphics, and you can use it on the hems, collars, and sleeve edges.
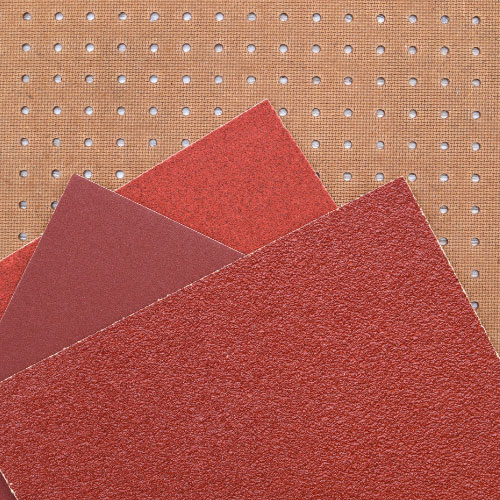
Image Source: UsGirl
You can also use the rough edges of a square of sandpaper to fray and fade these same areas. The fading and roughing process is why it’s so important to have a flat workspace or a bench that you don’t mind getting a little scraped.
Aging DIY Vintage T-shirts Without Damage
Which soak process you use depends on the fabric and the percentage blends of your t-shirts. Cotton, for example, works well with bleach. Nylon, on the other hand, doesn’t play so well and works better with lemon. Colors also play a significant role in determining how fast these solutions work. Darker colors fade less quickly, so you may have to use more than one technique and go through all four steps multiple times before you reach your desired look.
Using Shirtspace’s extensive database of search options, you can find the right fabric blend for your DIY vintage t-shirt aging project. Use these DIY aging techniques to mimic the look and feel of vintage t-shirts that you can add to your ever-expanding vintage collection.
Comments
Paige02/02/2024 11:31 pm
Thank u so much for your tips! I can’t wait to try!
Reply
ShirtSpace02/05/2024 04:23 pm
Thanks for reading our blog, Paige!
Reply
JJ02/16/2022 04:03 am
I use the bleach wash to age Nike t shirts. Most bright colors seem to work well. But Grey always turns pinkish, so I would avoid grey. Use the hottest water possible for your bleach water and pre-soak the t shirt in hot water before putting in mix. Make sure the shirt is inside out. 30 minutes later, you have a whole new shirt.
Reply
ShirtSpace10/26/2022 03:08 pm
Hi JJ! Thanks for reading and leaving a tip in the comments!
Reply
ShirtSpace10/25/2022 09:06 pm
Hi JJ! Thanks for reading and leaving tips in the comments!
Reply
Shammy Peterson08/10/2021 08:50 am
It sure was nice when you said that women’s t-shirts tend to be a little thinner in materials, so you must monitor the methods you use to ensure that the threads won't break down. My sister will surely remember your tips since she is planning to purchase vintage sports shirts for herself and her husband. She wanted to surprise him on his 35th birthday next month. I will share your tips with her so she could be guided.
Reply
ShirtSpace10/26/2022 03:09 pm
Hi Shammy! We are so happy to hear you will be sharing our tips with someone whom they may benefit. Thanks for reading!
Reply
Taylor Hansen09/21/2020 03:26 pm
I'm glad you mentioned soaking the shirt in bleach for 30 minutes to age a T-shirt. My brother's birthday is coming up and he wants a vintage band shirt.
Reply
ShirtSpace10/26/2022 03:06 pm
Hi Taylor! Thanks for reading and taking the time to comment!
Reply
Leave a Comment
We take your privacy seriously and will not share or publish your email address.
This site is protected by reCAPTCHA and the Google Privacy Policy and Terms of Service apply.