
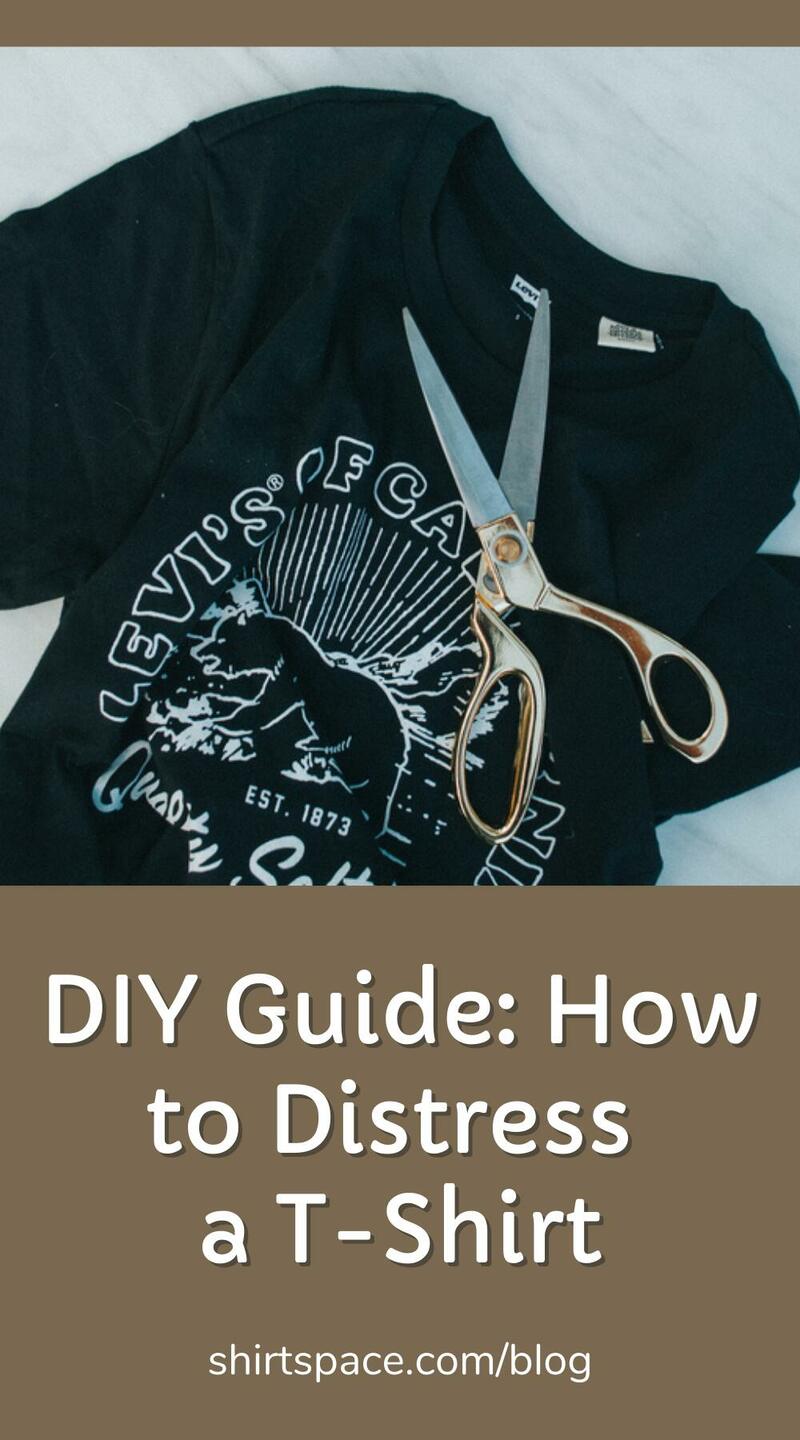
DIY Guide: How to Distress a T-Shirt
By ShirtSpace | Aug 23, 2019 | Updated Sep 26, 2024Vintage t-shirt dealer Patrick Matamoros turned his passion for vintage t-shirts into a significant business opportunity. As a lifelong collector and vintage t-shirt aficionado, Matamoros sells his coveted finds, including distressed band t-shirts, to clients like Kanye, Jerry Lorenzo, and Migos.
If that sounds like a dream job to you, you should know that Matamoros credits the resurgence of old, rock’n’roll and band “merch” as a major catalyst to his unique business. By collecting and then selling his t-shirt finds, he balances his love for art and music while still making a living.
Distressed t-shirts are just some of the most popular types of merchandise Matamoros sells. But you don’t need to be a rockstar or a vintage collector to admire the distinct style of distressed fabrics. You can easily craft your own distressed t-shirt using household items, and a few dashes of ingenuity, and some creativity.
What Is A Distressed T-Shirt?
We seem to have a love affair with distressed clothing, especially when it comes to t-shirts and jeans. Some loathe the marks, scruffs, and bleached dyed spots as an unsightly trend. Others love the grungy, disheveled, and rebellious style.
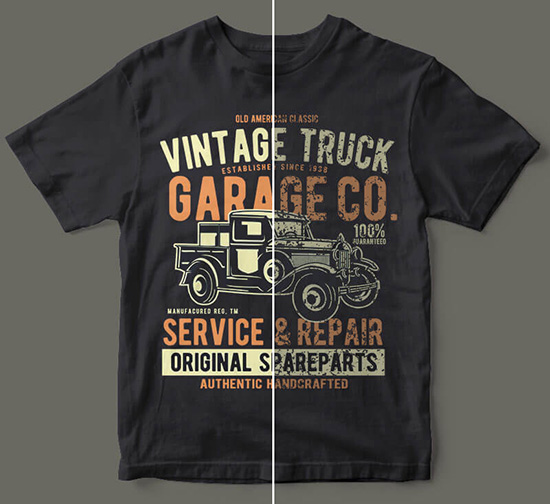
Image source: Rush Order Tees
So what is a distressed t-shirt? When you pre-distress a piece of clothing, you purposefully rip, tear, and slash parts of the fabric before it’s ever sold or warn. Pre-ripping and treating fabric in this way gives t-shirts or jeans a distinctly worn-in and roughed-up look. It’s meant to be edgy, bold, and give off a sense of unruliness.
Whether you’re treating jeans, t-shirts, or even denim jackets, distressed clothing has a few recognizable trademarks:
-
Holes and rips in denim jeans, usually at the pockets and especially at the knees
-
Rips and hangnail threads off the cuffs and hems of t-shirts, jeans, and jackets
-
Slashed or frayed edges at the collars of t-shirts
-
Possible fraying and rips in the bodice of the t-shirt
-
Bleached, faded, and colored spots randomly organized to mimic mud or spray paint
.jpg)
Image Source: Amber Fillerup
These creative “additions” make distressed clothing a matter of taste and choice. The trend may not appeal to everyone or be right for every piece, but when you search “distressed + clothing,” you’ll see thousands of t-shirts, jeans, jackets, hoodies, and even shoes that reveal why the distressed style is here to stay.
5 Reasons Why Distressed Clothes Are Dominating
Big-name designers like Calvin Klein are calling this “trend” one of the biggest in menswear, continuing season after season. Distressed clothes dominate for a variety of reasons, and the style is surprisingly flexible.
1) They Tend To Be Softer
Pre-distressing fabric sounds like an alarming way to treat your threads, but most manufacturers can do it carefully enough to keep your clothes durable. During the manufacturing and production stage, pre-distressed fabrics receive all kinds of treatments and washes to produce that distressed look.
The added advantage to pre-treating fabrics is that your t-shirt or denim jeans have a very worn-in look and feel. You don’t need to use DIY techniques to make your cotton t-shirt softer, for example. If it’s high-quality cotton, it likely already feels worn.
2) You Can Express Your Creative Side
If you make a distressed t-shirt or pair of jeans, you get to choose where the rips go, where the paint gets splashed, and what the overall look of your piece is going to be. Distressed clothing doesn’t need any order or structure, and a part of the appeal of distressed clothing is that it feels chaotic, random, and creative.
3) Distressing Works With Vintage, Grunge, and Punk Looks
Ripped and slashed clothing was very much a part of the British punk look of the 60s. While modern-day distressed t-shirts are more intentional and stylish than their rebellious predecessors, the ripped, fraying hems and edges on distressed clothing allows you to use these pieces in a wider variety of looks.
4) It Can Look Very Natural
Pre-ripped and purposeful are a good thing, but you can have too much. You don’t need to go too far and cut out massive chunks of your t-shirt or jeans. That doesn’t say stylish — it says sloppy.
Instead, go for natural. Because distressed clothing is deeply connected to an “everyman,” “workers,” or “street-style,” sensibility, you can craft your DIY distressed t-shirt using intentional rips, tears, and frays in places you think will naturally wear down over regular use. The knees of your jeans, for example, or the edges of your crew neck t-shirt will wear out first.
5) You Can Distress Almost Anything
Once you use DIY techniques to create your distressed t-shirt or pair of jeans, you’ll realize how easy the aesthetic is. Distressing and even bleaching your distressed clothing isn’t a fussy or time-consuming project. Like the distressed look you get at the end, the process is creative and satisfying.
Try ripping up or coarsely fraying the edges and hems of your t-shirt sleeves and collars and you’ll see just how cathartic and fun the whole process is. The best part is that you can apply this simple technique of “artistic” ripping to almost any piece of clothing.
Why Do We Love Distressed T-Shirts So Much?
The distressed aesthetic may not be for everyone but those who like the style tend to own at least three or four t-shirts in this style. But distressing is far from a trend — distressing has been around since the 60s, really getting going in the 1980s and becoming a cultural mainstay that lasts to date.
As hard rock and heavy metal bands of the 80s took off, fans would routinely distress their clothing to convey their solidarity with bands and their identity as the working class. From here, distressing bled into the 1990s and 2000s and infiltrated into the grunge, emo, and ska-punk movements that had a distinct urban and “street” flavor to their aesthetic.
This trend continues to live on because distressed clothing is both a statement and a choice. Even today, it signals a rebellious identity being youthful, full of energy, and creative.
If you’re creating some DIY distressed t-shirts, you’ll find that it’s way too much fun to craft just one!
.jpg)
Image Source: Amber Fillerup
How To Distress Your T-Shirt
You don’t need to spend unfathomable sums of money on fashionably ripped, frayed, and even muddied t-shirts and jeans. Creating your distressed t-shirt is a much more fun and cost-effective technique anyway.
You’ve got several creative options at your disposal to DIY distress your t-shirt with a few household items. Here’s what you’ll need:
-
Sanding block or a piece of sandpaper
-
Cutting board
-
Scissors (preferably one with a sharp point or edge)
-
Book
-
T-shirts
-
Eyebrow tweezer
-
Pumice stone
-
Razor
-
Cheese grater
-
Chalk
-
Bleach
-
Spray bottle
-
Dropper
-
Toothbrush

Image Source: Living Proof Apparel
You don’t need every single one of these items since many of the implements can be a substitute for something else on the list. For example, pumice stones have the same effect as sandpaper because both can be used to wear the t-shirt material down.
Once you have any (or all) of these items, clear out a flat, clean space to work. Choose a place you won’t mind getting a bit dirty — especially if you’re using bleach.
1) Choose Your T-Shirt
The thicker the cotton, the harder it’s going to be to get a distressed look. Go for high-quality cotton or thinner cotton blends mixed with polyester because you’ll be able to tear through or fray the fabric easier.
2) Stress It
Lay your t-shirt flat on a table or a large cutting board. Begin by fraying the edges with your pumice stone or sandpaper. You can also place a book between the t-shirt, right at the hem and collar, so you have a stable base for your work.
We recommend stressing the edges first, then moving on to the rest of the shirt. Work in patches or move in strokes up and down the length of the body, toward the shoulders. You want it to look natural, so make some areas more faded and worn than others.
At this point, you can use your chalk to create some soft, faded film on the t-shirt. Rather than using the tip of the chalk like a pen, use the flat side of the chalk like a charcoal. Then, you can smudge it further with your fingers.
3) Cut and Rip Where You Want
Next, create small rips and tears in the fabric by cutting small holes — emphasis on “small.” Avoid creating large holes as they can transform into larger rips over time. You can use your tweezers to pull out a few stray threads or to make the small hole larger — but not too much. Other items you can use to fray your t-shirts are a cheese grated and a razor.
Go over the edges of the collar, the hemline at the base of the t-shirt, and the hems of your sleeves. These are the areas that are most likely to become worn out. If the t-shirt is long, you can also cut a few stylistic holes at the sides. Start from just above the hips and rip a few small holes in a pattern leading to the base hemline of the t-shirt.
4) Bleach It Up!
Your t-shirt is now ready for some deliberate-made-to-look-accidental splotches of bleach. There are two methods you can use to do this, and we recommend both.
First off, take your bleach and pour it into your spray bottle. You can dilute it with water if you’d like. Point and spray a few mists of the solution onto the shoulders, the waist area, and the sides of the t-shirt. Flip it over and do the back of the t-shirt.
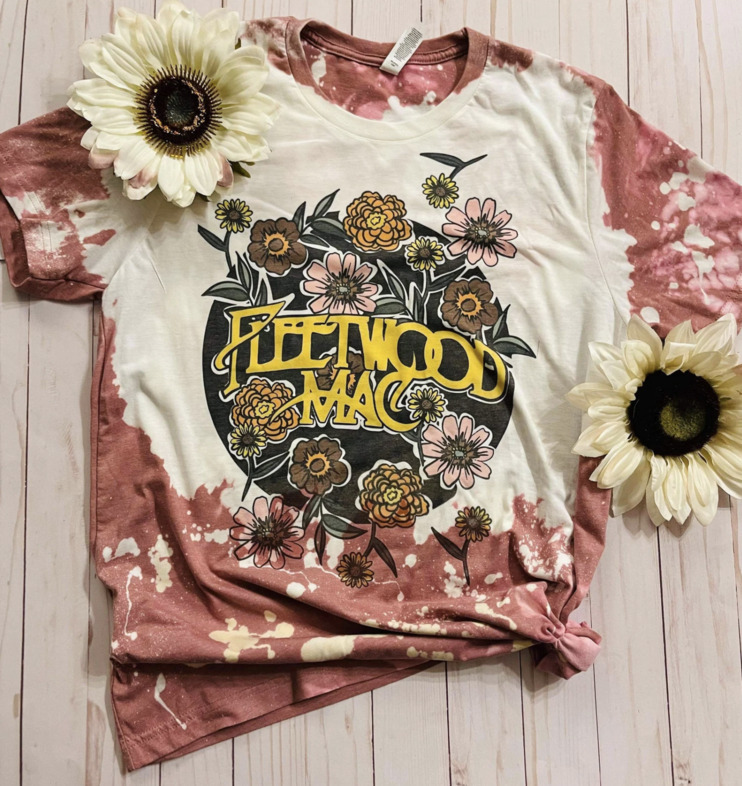
Image Cource: Jax And Jace Customs
Let it dry and watch as the fabric lightens considerably. You’ve now created a base for your stylistic droplets of bleach. Use your dropper to use the same bleach solution over the areas you previously sprayed. Add a couple of drops to areas that don’t have any bleach on them as well.
When you work with both methods of bleaching, you can build some vivid patterns and colored layers. Dropping more bleach over areas already bleached and contrasting it with areas only bleached once is a great way to add depth to the colors.
5) Add Some Color And Wash
Using some fabric paint, you can dip your toothbrush and create some light sprays of paint over the t-shirt. This final touch will add just a bit more color and style.
Before you call it quits, make sure you’re completely satisfied with your new work of art by looking it over and examining it critically. Next, wash your newly distressed t-shirt in cold water and hang to dry. It’s that simple!
Conclusion
There’s no such thing as a distressed t-shirt done “wrong.” That’s the beauty of the distressed style. You can allow chaos and random creativity to rule as you whimsically move drops of bleach above your t-shirt.
No first-time DIY distressed t-shirt creator is pleased with their creation. Once you’ve got the hang of it, you’ll want to create more! You’ll want to perfect your technique and be more strategic with your rips and tears.
That’s why it’s a good idea to have more than one t-shirt on hand. Ideally, you can buy t-shirts in bulk, five to 10 at a time, and use these as your canvas. The distressed method is perfect for a trial-and-error attitude to creating, and won’t cost you too much.
When you take advantage of Shirtspace’s discount and bulk pricing, you can buy more than one t-shirt in the styles, sizes, and colors you love. You can even buy t-shirts in bulk for a large event or group gathering. Or, use ShirtSpace to experiment and perfect your DIY distressing technique in a cost-effective way, trying out all the items instead of just one.
Comments
Jasa Konveksi Bandung02/12/2025 04:21 am
Your article is very inspiring with high-quality content. Warm Regard.
Reply
ShirtSpace02/12/2025 06:29 pm
Hi, Jasa. Thanks for reading our blog and taking the time to comment.
Reply
Ari 05/22/2024 06:03 am
Hi! This information is super helpful. I've got a brand new all black t-shirt that I want to make have that worn-in-distressed look but more so with the fabric itself and less so with holes or rips or frays. I am hoping to make it feel 'softer' to the touch. Do you have any tips or tricks to make a shirt feel softer and lived-in? Thx so much!
Reply
ShirtSpace05/22/2024 11:31 pm
Hi, Ari. Great question! We recommend checking out this blog we wrote: https://www.shirtspace.com/blog/how-to-fade-a-shirt to get some ideas on how to distress a shirt, without holes, rips or fraying. To make a shirt softer, check out this blog we wrote: https://www.shirtspace.com/blog/diy-guide-on-how-to-soften-a-t-shirt. We hope these articles help you achieve the perfect lived-in tee. Thanks for reading our blog!
Reply
Natalie 02/06/2024 12:25 pm
Can you explain how to distress or fade the vinyl like in the photograph please?
Reply
ShirtSpace02/07/2024 05:57 pm
Hi, Natalie. Great question! To distress vinyl, we suggest trying a few different methods. If you are not worried about shrinkage (for instance, if you have already washed and dried it a handful of times using heat) then repeated washes and dries using high heat settings will often do the trick. Putting it in the wash and machine dryer with other abrasive garments, such as jeans or jackets or sweatshirts with zippers, can also help naturally distress the tee. Make sure the shirt is “right side out”, so that the vinyl is exposed to agitation. Gently rubbing a pumice stone or sandpaper over the vinyl can work, too. Just be very careful. If you find the design is turning too cloudy, or completely peeling in an area, we recommend stopping this method, and reverting back to repeated washing and drying.
Reply
Andre Cohen04/17/2021 02:44 am
I started getting nervous that all I was going to find was the history of 'Distress'. It was worth getting to the bottom to hit the DIY I was looking for. I can't wait to get started! Thanks for making it easy guys. Glad I came in! ac.
Reply
ShirtSpace10/18/2022 08:58 pm
Hi Andre! We are so excited to hear you found our blog helpful! Thank you for reading and taking the time to comment!
Reply
Leave a Comment
We take your privacy seriously and will not share or publish your email address.
This site is protected by reCAPTCHA and the Google Privacy Policy and Terms of Service apply.