3 Easy T-Shirt Decorating Methods for Kids
By ShirtSpace | Mar 11, 2022 | Updated Jan 24, 2024
Did you know that ShirtSpace offers well over 500 different apparel styles for KIDS? Ranging from sweatshirts to athletic apparel, ShirtSpace has you covered for all your kid apparel needs! Not only is this great news for apparel decorators who like to customize children’s clothing, but also for parents who want matching outfits for their families, and of course for special events! Why not throw a t-shirt decorating party for your next birthday celebration? Or let the kids decorate shirts at the next family get-together!
Hero Image Source: Pressmaster

Image Sources: justinkendra & FatCamera
All we know is that t-shirt decorating isn’t just for adults, it’s for the whole family, including kiddos! We are going to discuss three easy decorating methods that you can do with your kids that we know they will love!
Stencils With Fabric Markers & Puffy Paint
People often refer to a blank apparel as blank canvases, and with this first method it proves to be just that. All you will need is a blank shirt, we will be using the Port & Company Fan Favorite PC450Y in black, but this option also has 27 color options to choose from that would work great for this first method.
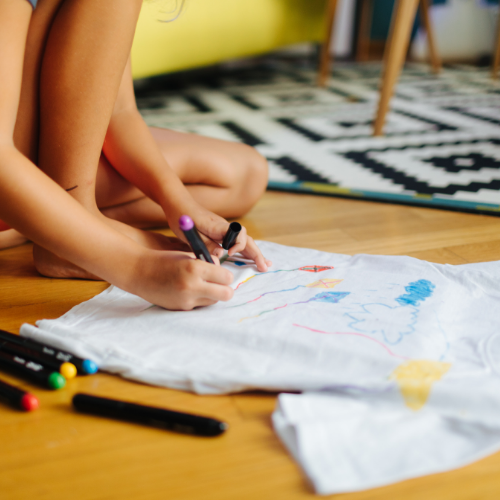
Image Sources: KatarinaGondova & vgajic
Stencils are a convenient tool for anyone to use that will ensure a fun and creative design. Fabric markers and puffy paint are uncomplicated mediums for anyone to use, but especially kids!
Materials needed:
-
Stencils
-
Fabric Markers
-
Puffy Paint
-
Blank T-Shirt
-
Cardboard (that will fit in between the shirt)
-
Spray Adhesive (optional)
-
Table or surface cover
Before your little one creates their masterpiece, you must make sure you are set up for creative success! We suggest using something to protect your working surface to make sure that all the fun will remain fun and not turn into a huge mess! Next, make sure you have made a plan for your design by picking out which stencils you want to use as well as which color paints and markers you will be using.

Image Sources: pixelshot & kolinko_tanya
Once you are all set up and have a plan set in place, now is the time to get messy…… I mean creative! We suggest using this useful tip and trick of spray adhesive so the stencil will stay in place, which will help create the best design. All you need to do is spray it on the back of the stencil then place it on the shirt that way it will keep its position while your little one is tracing their stencil!
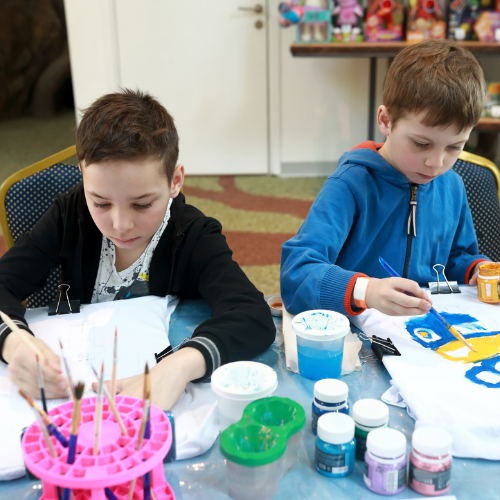
Image Source:Ekaterina_Marory & Arkady’s
After all your little Picasso’s have finished their masterpieces, it is time to let them dry. We recommend checking the instructions of the markers and paint for drying times, however, a good rule of thumb is to let them dry for 24 hours to assure that the designs have completely dried. Once dried, then it is time to show off just how creative your little one is by wearing these designs all over town- or all over your house….
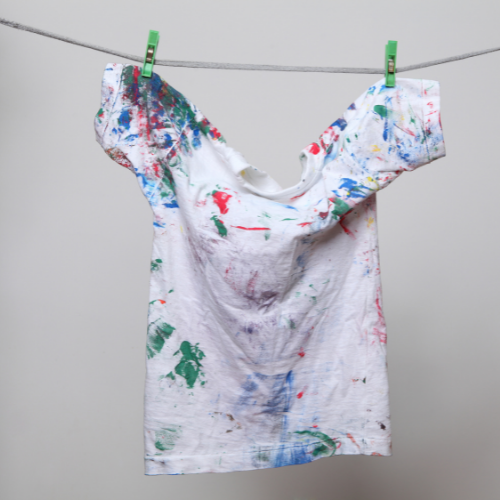
Image Source: godunk13 & greg801
Tie-Dye
Tie-Dye is our second method, and we will be using the ANVIL Lightweight 990B in white. You can tie-dye on other color tees, but we suggest using a white t-shirt for this process. ShirtSpace is proud to offer a huge selection of the best white t-shirts that will not just satisfy this method, but many other design and shirt needs!

Image Source: sjharmon
This method is great for kids, and the whole family! Combining messy and fun, you have a kid approved activity! One of the best things about tie-dying is that there is no right or wrong way to do it! Each design is unique and beautiful! Just like YOU!
Material Needed:
-
Tie-dye kit
-
Blank white t-Shirt
-
Cake pan or wire rack
-
Table or surface cover
-
Bucket
-
Soda ash
Remember, this can be messy… but most importantly, FUN! Also, always remember to soak your shirt in a mixture of soda ash and water to pretreat it before you tie-dye.
Some people might be wondering what is, “soda ash” and why should we use it? Please note that although prepping for tie-dye projects by soaking your garments in soda ash is not required, it really does make a huge difference in vibrancy - especially long-term. From first-hand experience, we know this and experienced the colors dramatically fading after drying it. We highly recommend doing this prepping process to ensure a vibrant result that will last.
First, lay down your table protector and then lay out your shirt
Next, swirl it around and bunch it up, you can use a fork or just your hands! Up to you!
*Remember, there are NO wrong designs when tie-dying!*
Lastly, take rubber bands and secure your crumbled design!
Now that you have tied… it is time to dye!
Before you start the dying process, make sure that you have all of your materials that were listed above out, table is protected and gloves are on! We suggest using gloves for this part as it will help protect your hands and will really allow you to place dye on your tee where you want!
Follow the directions on your tie-dye kit bottles to make sure there is enough dye in each bottle. Once you have your dye bottles ready and the wire rack set out, place your tied tee on the wire rack and get to dying. Make sure you flip your tied tee all around and cover up as much white as your design mind desires!
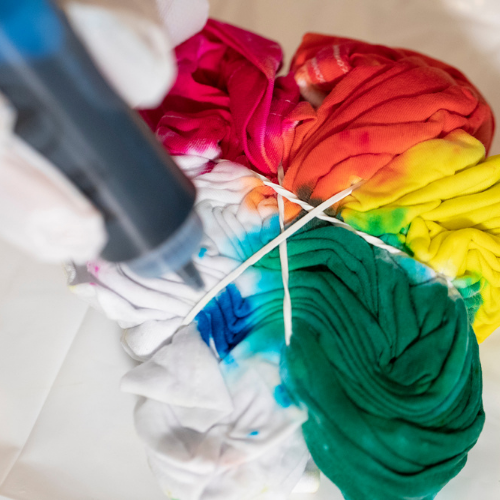
Image Source: Brian Sevald
*Pro-Tip- make sure you keep each color dye separated in the different sections that were tied from the rubber bands. If you put one color dye on top of another color, it could possibly make it turn brown. For example, complementary colors will become muddy if combined. However, certain primary colors could make a new color when mixed. Make sure to follow the rules of the color theory if you are wanting to become experimental with color mixing.*
Once you have successfully placed all the dye onto your t-shirt, place it in a gallon ziplock bag and let it sit for at least 6-8 hours. For a more vibrant design, you could even let it sit for 24 hours!
After you have let your designs sit and soak in the dye, it is time to rinse and see the first peak of your tie-dye creation! When rinsing your shirt, make sure to remove all the rubber bands and rinse until the water runs clear. Once they have been rinsed, make sure to wash and dry your shirt before the final reveal! We would love to see your finished creations! Make sure to tag us on social media for a chance to have your designs to be shared or featured on our social media platform.
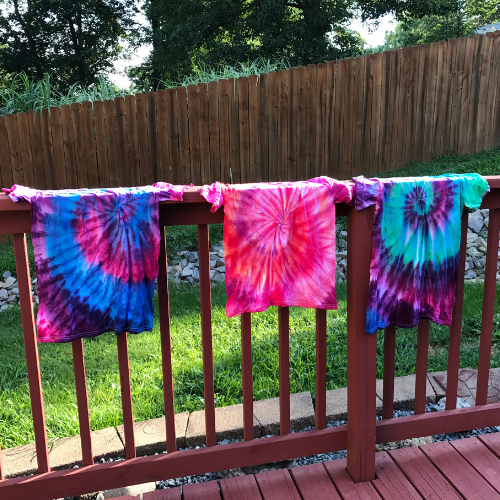
Image Source: Brian Sevlad & Carolyn Sandgren
Iron on HTV
The last method that we have for you today is Iron on HTV patches! This is a fun and easy method that your kids will surely love!
Material Needed:
-
Iron on patches
-
Blank t-shirt
-
Iron
-
Ironing board
Before we get the kids involved, make sure to have an adult set up the iron! One note to remember is to check your HTV patches first and follow the directions that they provide. There is a chance that they will require a different heat setting than the ones we are showing you today, and will likely recommend fabrics to use and techniques to follow.
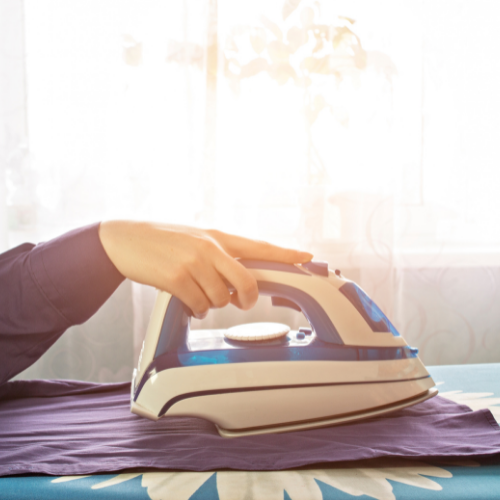
Image Source: Henadzi
For the brand of patches that we are using, you will want to set the temp to 120-160 degrees and make sure to have the steam is turned off! Have your kids be aware that when using the iron it is very hot so to be very careful.
In this method we will be using the Gildan Heavy Cotton G540B in sport gray, however, you can really use any shirt as long as it aligns with the specific instructions for the patches that you have.
First thing is first, pick out which patches you will be using as well as the placement. Once you have a design game plan, it is time to press the patches on. You will want to press your patch for at least 10-15 seconds with pressure. After heat and pressure has been applied, then you should wait until it is cool to touch. Once it is cool then peel off the clear lining also known as a membrane!
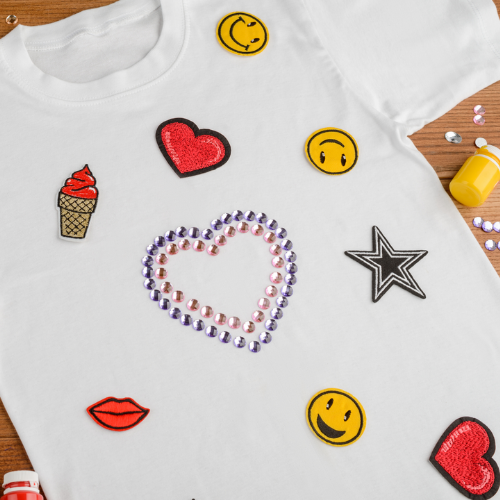
Image Source: YGolub
A few final tips for this method is to wait at least 24 hours before putting it in the wash. You will also want to flip the shirt inside out to protect your design and set to cooler settings when washing and drying. Heat can cause your patch’s adhesive to become loose and therefore peel up over time with wear and abrasion.
We also advise to always have extra materials on-hand to conduct a test run when working with new products to ensure success.
Shirt Facts
Now that we showed you how to use these methods, let's talk about the SHIRTS! I mean, this is ShirtSpace, the shirt place, after all!
1. Stencils With Fabric Markers & Puffy Paint
-
Port & Company Fan Favorite PC450Y (Black)
-
4.5 oz. - light-mid weight for a child's tee
-
100% ringspun cotton (except some gray colors)
-
Removable tag that’s perfect for relabeling or ditching the itchy tag altogether
-
27 colors
-
Would also be a great choice for any of the other crafts we did today
-
2. Tie-Dye
-
ANVIL Lightweight 990B (White)
-
Super light 4.3 oz
-
100% ringspun cotton (except for some gray colors)
-
Youth styles carry a TrackMyT number in the bottom hem which is traceable at www.trackmyt.com, an interactive platform that will take you behind the scenes of the company that created the shirt and the sustainable efforts they are putting into practice.
-
Tubular construction (good if you want to print a wide or full-body design on this tee)
-
Oeko-Tex Standard 100 Certified, so you can feel good about the textiles you are wearing
-
Would be another great choice for any of the other projects we did in this video
-
3. Iron on HTV
-
Gildan Heavy Cotton G540B (Sport Grey)
-
This is the long sleeve youth version of our most popular selling shirt at ShirtSpace, the Gildan G500.
-
You can also get this shirt in a short sleeve version, the G500B.
-
Known for its fantastic value for the cost
-
100% preshrunk cotton (besides a few grays that have a little polyester in the mix), so you don’t have to worry about pre-washing yourself or risking drastic size changes
-
11 colors
-
Another solid choice for any of the other projects we did in this video
-
Honorable Mentions
Since we are obsessed with t-shirts, we couldn’t leave without mentioning a few extra shirts that we think would be perfect crafts. Before you go, here are some tees perfect for your next kid’s t-shirt project day!
-
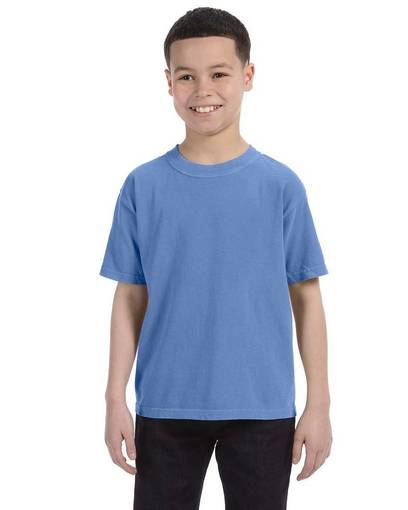
If you want fanatics color options, you should check out the 100% cotton, Comfort Colors C9018 Youth Midweight RS T-Shirt
-
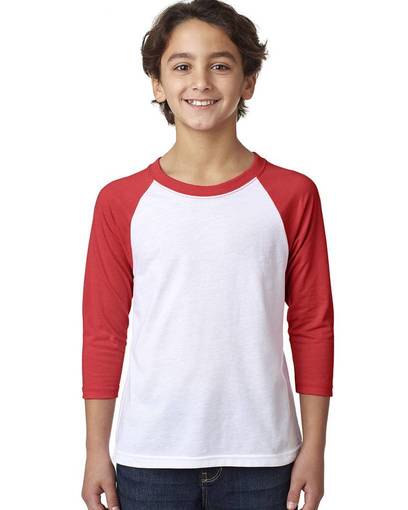
If you want to decorate a raglan AKA baseball tee, we love the Next Level 3352 Youth CVC 3/4-Sleeve Raglan that comes in 9 color combinations and is made from a blend of 60% combed ringspun cotton and 40% polyester jersey fabric. We absolutely love a raglan for stencils and vinyl transfer projects, but we do not recommend this shirt for tie-dye.
-
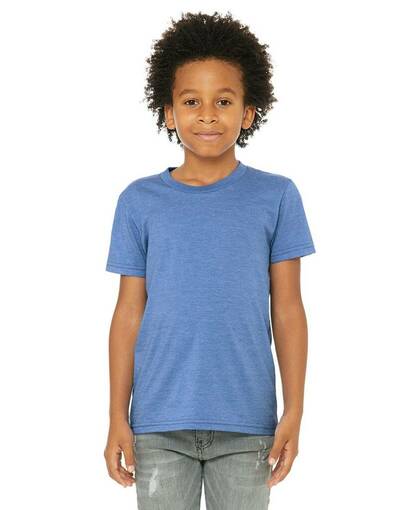
And last, but certainly not least, we can’t make a video about apparel decoration without mentioning Bella+Canvas! The 3001Y Youth Jersey T-Shirt is a youth version of their insanely popular 3001C and 3001CVC tees. This shirt is known and revered for it’s easy-to-work-with printing surface, fashionable colors and trendy cut due to its side seams and modern fit. It’s preshrunk and has a tearaway label - dare we say, it is one of most all-around impressive tees we offer.
-
Just be mindful of the material makeup you select and whether it is the best for your chosen method of decoration, since the fabrication varies depending on color. Remember, the more cotton, the better for bright and colorful tie-dye! If muted colors is more of your jam, then a bit more polyester never hurt!
Little Apparel Decorators in the Making
Wow, that was A LOT of fun! We hope that you are now inspired to have your little ones create their own t-shirt designs! At first, it might seem challenging to combine the diverse world of apparel decorating with kids, but we hope we have showed you that it is not just possible but also fun! Having your kiddos be able to wear their masterpieces can create self-confidence and who knows, maybe even catapult them into creating their very own business.

Image Source: FatCamera & Robert Kneschke
Do you have any other ideas of ways that kids can decorate blank apparel? We’d love to hear your ideas in the comments below! We also love to see your creations, so send them our way via any of our social media channels or by sending an email to [email protected]. Just like blank apparel, the opportunities and results are endless.
Comments
Giniekids04/26/2023 11:29 am
I found this post to be informative and well-organized. You presented your ideas in a clear and concise manner.
Reply
ShirtSpace04/26/2023 05:06 pm
Hello! Thanks so much for reading our blog! We are glad you found value in it.
Reply
Leave a Comment
We take your privacy seriously and will not share or publish your email address.
This site is protected by reCAPTCHA and the Google Privacy Policy and Terms of Service apply.