
How to Embroider on Clothes
By ShirtSpace | Feb 28, 2023 | Updated May 25, 2023If you want to learn how to embroider clothes like a pro, you’ve come to the right place! There's nothing like the feeling of creating your own unique piece of clothing. With embroidery, you can turn any piece of clothing into something truly special and one-of-a-kind. From adding small details to entire custom designs, embroidering clothes is a great way to express yourself with your wardrobe.
Here's an overview of how to get started with DIY embroidery, whether you want to learn how to embroider a shirt or how to embroider a hoodie.
Hero image source: Joice Rivas from Pexels
Choosing Your Design
The first step in creating your personalized look is choosing the right design. Your design should reflect your personal style while also being appropriate for the item of clothing you are embroidering. If possible, try sketching out some ideas before committing to one look and practice drawing it on paper first if needed.
It's also important to consider the size of the design when selecting it – too small or too large could ruin the effect you're going for. For example, if you're using a t-shirt, you may need to make the design smaller than if you were using a sweatshirt or hoodie.
Choose Your Clothing
You will also need to decide what kind of clothing you want to embroider. We have some recommendations on some styles that embroiderers use on a regular.
The Best Clothing & Accessories for Embroidery
Typically, you want to search for fabrics that are thick enough to hold up repeated stitching. Heavyweight t-shirts and sweatshirts are favorites among embroiderers. For material type, 100% cotton and cotton blends are the best for embroidered designs.
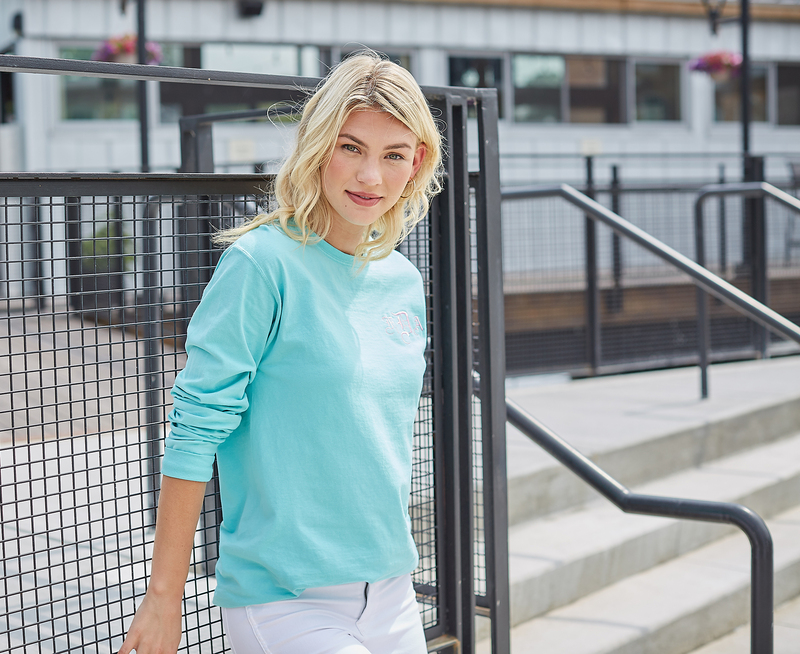
Shirt Pictured: Embroidery monogrammed ComfortWash by Hanes GDH200 in “mint”
GREAT CHOICES FOR YOUR NEXT EMBROIDERY PROJECT:
Clothing to Avoid When Embroidering
You will want to avoid stretchy synthetic fabrics. Polyester is okay in the form of non-stretch heavy outwear, but generally, embroiderers avoid polyester, spandex, and rayon. Since heavyweight fabrics are typically preferred, we recommend shying away from really lightweight garments.
Prepare the Fabric
The next step is preparing the fabric for embroidery. This includes selecting a needle that is suitable for the fabric you're using and ensuring it is clean and free of any dirt or debris. If you have a thicker fabric, you may need to use a thicker needle. It's also important to stretch the fabric taut so that it doesn't move or tear when stitching.
Transfer Your Design
The third step is transferring your design onto the fabric. There are multiple ways you can do this, such as using transfer paper, heat transfer pens or pencils, or pouncing, which is an old-school method that pricks small holes into the fabric to outline your design.
Stitch The Design
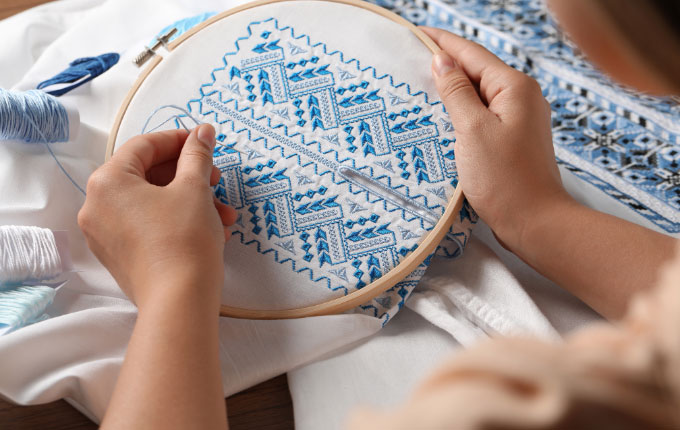
Image source: Africa Images
Now that your design is transferred onto fabric, it's time to start stitching! Be sure to choose thread colors that will complement each other and match up nicely with whatever color scheme you're going for – this will help ensure that your design looks sharp when finished.
You'll also want to use an embroidery hoop so that your work stays taut throughout the process – this will help prevent any mistakes from happening due to loose fabric shifting around while stitching!
When starting off a new line of stitches, always knot off securely at both ends (before & after) so that everything remains secure during wear/wash cycles later on down the line as well! And finally – don't forget about back stitching either; this helps create extra strength along certain areas of a pattern or logo, which ensures longevity in its overall appearance!
Digitizing Embroidery
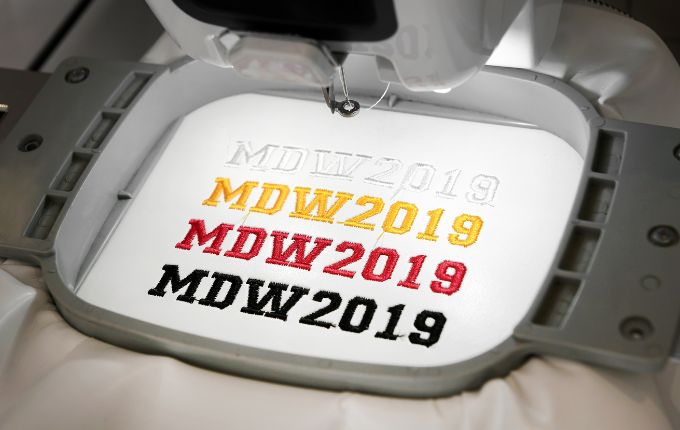
Image source: Photology 1971 from Getty Images
The art of digitizing embroidery is a meticulous craft that involves converting a design or image into a digital format that can be read and executed by an embroidery machine. Much like hand embroidery, you start by choosing your piece of clothing ad design, being sure to keep in mind that some designs might be more difficult to digitize than others.
Digitizing Embroidery Software
Choosing the right embroidery software is also essential since there are so many options available on the market, you must choose one that is compatible with your embroidery machine and fits your budget. You can upload your design by scanning or importing the digital file. Once your parameters are set, such as thread colors, stitch type, stitch length, and density, you can begin digitizing the design.
Now the software will create a stitch pattern, or digitize, your design. Once this step has been completed, we recommend testing on a piece of scrap fabric. That way, you can make any necessary adjustments before stitching into your final garment.
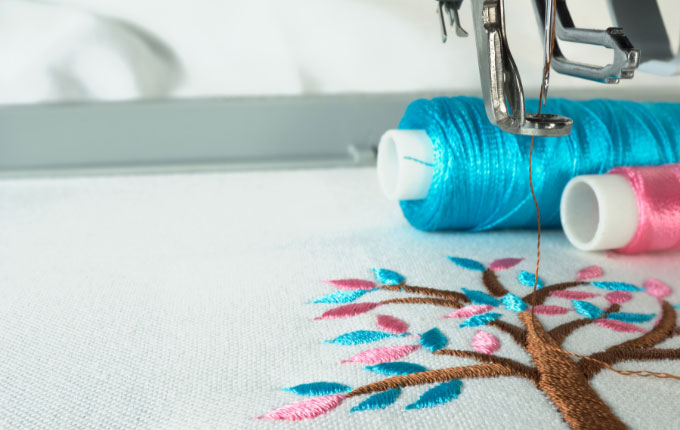
Image source: Chatri Attanatwong from Getty Images Pro
The Key to Successful Digitized Embroidery Designs
The process requires a keen eye for detail and a thorough understanding of the embroidery software and machine. Digitizers must take into account factors such as stitch density, thread tension, and color changes to ensure that the final product is of high quality and accurately represents the original design. They must also be able to troubleshoot any issues that may arise during the digitizing process, such as thread breakage or design distortion.
Overall, digitizing embroidery is a skilled craft that requires the right equipment, technical expertise, and a creative eye to produce stunning and unique embroidered pieces. Digitizing embroidery can take some practice to master, but with the right software and tools, you can create beautiful designs that can be stitched on a variety of fabrics and items.
Now Get to Stitching!
Embroidering clothes is a great way for anyone who wants their wardrobe pieces to stand out from the crowd. With patience and practice, anyone can become an expert at DIY embroidery and create beautiful pieces of clothing from scratch!
Whether you want to learn how to embroider a sweatshirt and add small details or entire custom designs from start to finish — learning how to embroider clothes can transform any plain garment into something unique and special — all while allowing you to express yourself through fashion!
For some embroidery inspiration, check out these other articles from our blog:
Comments
Okkabeautydubai02/02/2024 11:16 am
The variety in your collection is fantastic – something for every occasion. Keep up the great work!
Reply
ShirtSpace02/02/2024 05:06 pm
Thank you so much for the kind words and for reading our blog.
Reply
Leave a Comment
We take your privacy seriously and will not share or publish your email address.
This site is protected by reCAPTCHA and the Google Privacy Policy and Terms of Service apply.