

How to Apply Heat Transfer Vinyl to T-Shirts
By ShirtSpace | Aug 23, 2019 | Updated May 14, 2024Using heat transfer vinyl is a quick way to add lettering, images, and decorations to plain t-shirts. The process is quick and easy—as long as you have some basic materials and a hot iron, you can turn any shirt into a one-of-a-kind work of art. Iron-on vinyl for shirts is all the rave these days and for all the days to come! Check out our guide and follow these 5 easy steps to make your DIY heat transfer vinyl shirt!
How Do You Use Iron-On Vinyl?
Heat Transfer Vinyl Steps:
Step 1: Pick a shirt
Step 2: Choose your vinyl type
Step 3: Create your design
Step 4: Prep your shirt
Step 5: Iron on your vinyl design to your shirt
Heat Transfer Vinyl Guide
Step 1: Pick a Shirt: Natural or Synthetic Shirts?
It’s entirely possible to use vinyl transfers on synthetic shirts or those that are not 100% cotton. However, remember, your iron will be extremely hot and will be used to press the iron vinyl on the shirt anywhere from ten to forty seconds. That’s long enough to melt many synthetic fabrics. It is important to research which fabric, cotton or polyester, is best for your materials and design.
You must check the heat transfer vinyl instructions to see if you can use the vinyl with polyester shirts and other synthetic materials. You could always use cotton shirts since the material is always a safe bet for using heat transfer vinyl.
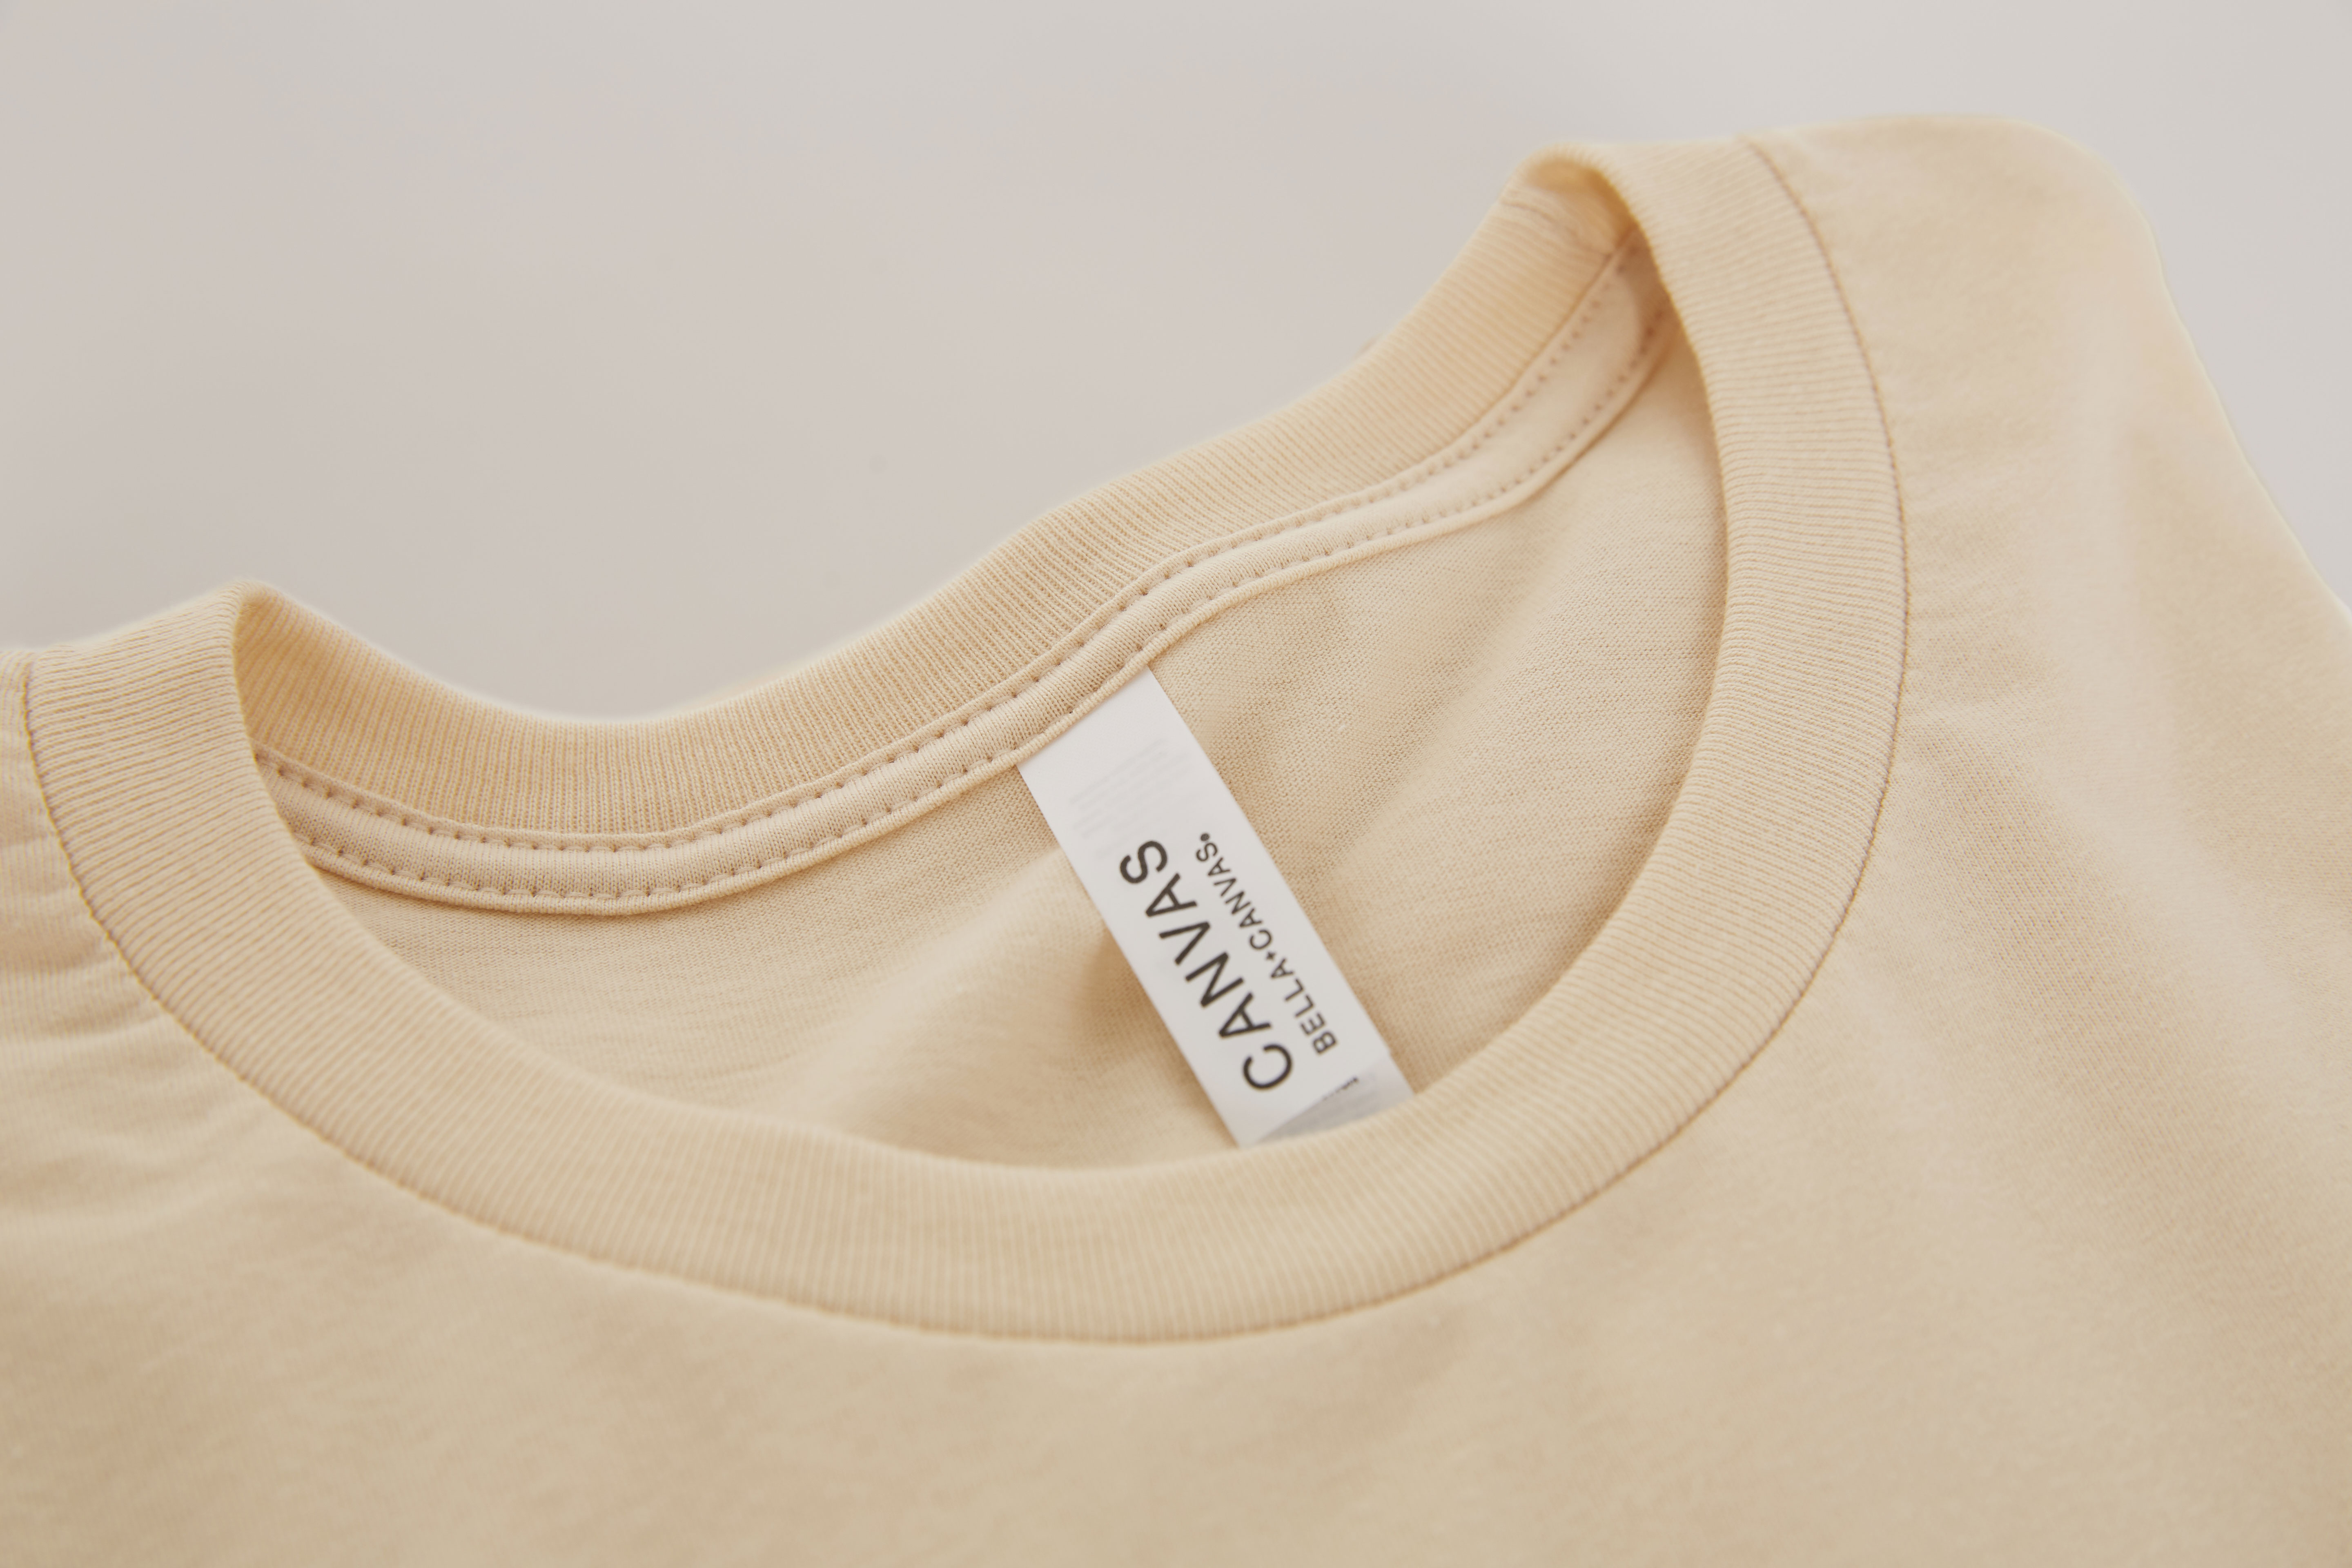
Shirt pictured: 3001C Unisex Jersey Short Sleeve T-Shirt by Bella Canvas in the color “Soft Cream”
Step 2: Choosing your Vinyl Type
Iron on vinyl for shirts is available in a variety range of styles and colors, from iron on vinyl letters to vinyl iron on decals and everything in between. You have your choice of:
- Smooth transfers in matte and gloss
- Transfers with glitter
- Flocked transfers for a soft, fuzzy finish
- Patterned transfers
- Foil and metallic transfers
- Reflective transfers
- Glow-in-the-dark transfers
- Chalkboard transfers
- Puff vinyl
Browse our selection of high-quality Stahl’s HTV to stock up your supply!
Step 3: Create Your Design
This is the fun part, as heat transfer vinyl offers plenty of opportunities for creativity when creating your design.
It’s important to remember that you must use your editing software to “flip” the image before printing. If you don’t, the transfer will be the mirror image of what you wanted: not a big problem if you’re printing snowflakes, but a disaster if you are working with iron on vinyl letters because you’ve included words in your design—or vinyl iron on decals for a brands' logo. So remember, always flip or reverse the image before printing!
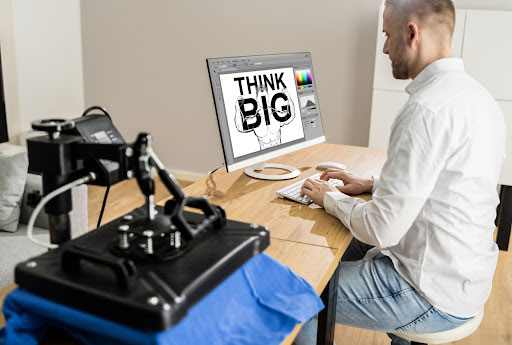
Image credit: AndreyPopov
Step 4: Preparing Your Shirt and How to Transfer Vinyl
Pre-wash any shirt you’re going to use with vinyl transfers. If you don’t, the finished iron vinyl on the shirt may shrink when washed, pulling at the vinyl edges and creating an unsightly look — and an uncomfortable shirt!
As for the transfer, once your artwork is ready to go and your garments are washed, you must cut out the design using a craft knife or cutting tool. Realistically, investing in a plotter that is used to cut vinyl is your best bet. A wildly popular and affordable option is the Silhouette Cameo or the Cricut vinyl cutter. Using a plotter simplifies the process, as opposed to using a knife, as it is difficult to achieve enough pressure and accuracy to cut out your design successfully.
Assuming you will be using a plotter, make sure to refer to the plotter’s cutting settings, as well as the instructions provided by the manufacturer of your vinyl. This is very important and will save you many headaches throughout the process.
Once you’ve finished cutting out your artwork using either a knife or plotter, don’t be alarmed if you're unable to see the cuts through the clear backing paper when you turn the vinyl transfer over. The vinyl material is quite thin, so the cuts are still there but aren’t highly visible.
Next, you will need to trim all the extra vinyl that is surrounding your image. Then, you must peel off the vinyl from the unwanted areas of the transfer, a process called weeding. Large areas are easy to peel by hand, but for small sections, special weeding tools are extremely helpful. If you don’t have any, use the point of a safety pin or a pair of tweezers to peel up small areas that need weeding.
Step 5: How to Iron On Vinyl to T-Shirts
Now is the moment you’ve been waiting for, the moment when you will actually learn how to apply heat transfer vinyl to a shirt. Most vinyl transfers require a very hot iron setting for the vinyl to fully adhere, so be sure to read the heat transfer vinyl’s instructions before ironing. Double-check that you have properly prepped your garment by following the steps above. Before you apply your image to your shirt, make sure and iron the shirt first to remove any wrinkles and prepare the garment.
Next, position the vinyl on the shirt with the vinyl facing down and the backing paper facing up. Cover the vinyl with a towel or handkerchief, or if you have a Teflon sheet or parchment paper, those are even better.
Place the iron over the towel or parchment paper that is covering the vinyl and leave it for the amount of time recommended in the manufacturer’s instructions. Following the manufacturer’s instructions is extremely important! Also, keep in mind that the entire image must be covered with the iron, so you may have to apply the iron section by section if your image is a large design.
Finally, remove the iron and let the transfer cool for about thirty seconds before carefully peeling off the backing paper. This will prevent smooth areas from pulling up with the backing paper when you peel. Now, presto! You just turned an ordinary shirt into something extraordinary.
Now That You Know How to Use Heat Transfer Vinyl
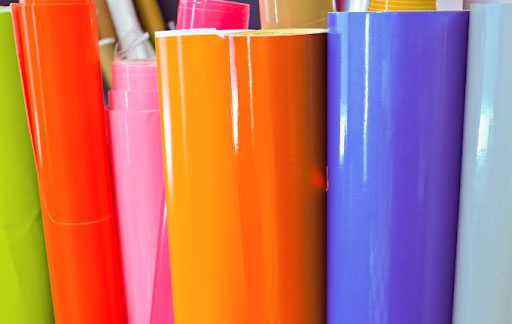
Image credit: bert_phantana from Getty Images
The possibilities are endless when it comes to what you can make with HTV. Once you master a simple print, you can go on to creating more intricate designs or even layering your heat transfer vinyl! Do you have any helpful tips for using HTV? Be sure to share with us in the comments below!
Other Blogs We Think You May Like:
Comments
Debra Taylor08/05/2023 10:55 pm
Do I need to put another kind of vinyl under heat transfer vinyl.
Reply
ShirtSpace08/07/2023 06:52 pm
Hi, Debra. You do not need to put an additional vinyl under HTV, unless you want to create a layered design with multiple colors of vinyl. Heat transfer vinyl will bond directly to the fabric just fine. Thanks for reading our blog! You might also find this article that we wrote useful: https://www.shirtspace.com/blog/what-you-ve-been-missing-out-on-heat-transfer-vinyl
Reply
Janelle04/01/2023 04:11 pm
Hi Christie, I have a few shirts I made that have loose vinyl and a peeling. Is there a way to fix these? Can I just use my iron on it again? Or maybe some fabric glue? Thanks!
Reply
ShirtSpace04/03/2023 04:01 pm
Hi, Janelle. Usually, peeling is due to too low of a temperature being used when pressing. Or something abrasive caused the peeling. You can try repressing with increased pressure and see if that re-adheres the vinyl to the fabric. Thanks for reading our blog and best of lucky with your peeling t-shirt designs.
Reply
Bill Heinsohn03/20/2023 01:56 am
Hi Christie, I’m trying to label some canvas camera cases I have., But so far no luck. I’ve tried two different vinyl transfer papers. Have run them through my computer. This one happens to be an inkjet computer which the file transfer paper says should work. But each time I iron it, nothing sticks to the canvas and I can’t see that anything would. I’ve also have a spray that was recommended to me by a friend that I spray on before I put the vinyl on and iron it. So, do you have any idea why I’m not getting any transfer at all. I do have the vinyl part down . And I’m using a hot iron. Let me know if you have any suggestions. I’m clearly doing something way wrong. Thanks, Bill Heinsohn.
Reply
Christie Hults02/16/2023 02:36 am
Thank you for a concise detailed lesson on iron on transfers. Very helpful.
Reply
ShirtSpace02/16/2023 07:08 pm
Hi, Christie! We are glad you found value in this article. Thanks for reading!
Reply
Christie10/27/2022 10:31 pm
How about an article on what to do when things go wrong or how to avoid problems. What if you get a transfer from ebay and it doesn't come with instructions, but you really need to make sure it works for a special project. What causes the paper to stick to your design: too much heat or not enough heat? Leaving the iron on too long? Why are you not supposed to use steam? What does the parchment paper or handkerchief do, just keep residue off your iron, or does it do something more?
Reply
ShirtSpace11/03/2022 10:53 pm
Hi Christie, Thank you for this feedback. These are all great suggestions, and definitely relatable "uh-oh" moments. Thanks for reading our blog and stay tuned for more content!
Reply
Leave a Comment
We take your privacy seriously and will not share or publish your email address.
This site is protected by reCAPTCHA and the Google Privacy Policy and Terms of Service apply.